HVAC Control
Note: You must be inside your garage during configuration. Your cell phone must be able to receive emails as you have to set up an account within the app.
How to Install
Honeywell app Installation Instructions
STEP 1
Download the Honeywell Home app from the Apple Store or Android Play
STEP 2
Create an account. Because you will have multiple verification emails, it is recommended you do this with access to a desktop/laptop computer prior to visiting your garage.
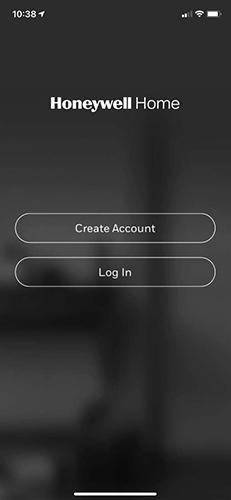
STEP 3
This part is self-guided. Input your First name, Last Name, Email Address, then click “Send Verification Code”
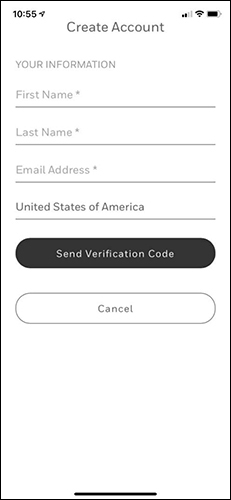
STEP 4
Retrieve your Verification code from your email and enter into your phone under “Create Account” as pictured below
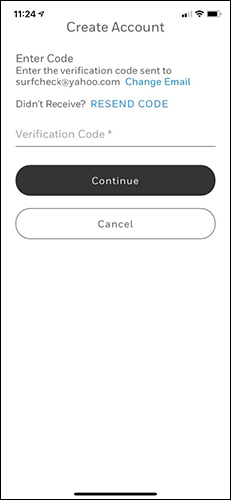
STEP 5
Complete your account creation
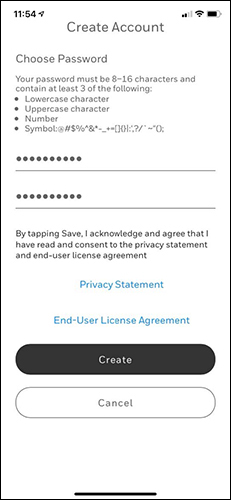
Step 6
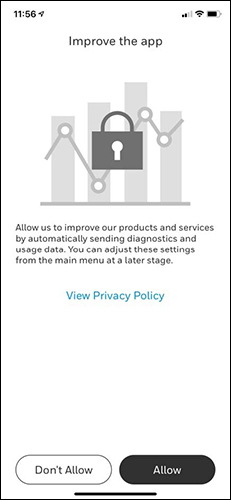
Choose either Allow or Don’t Allow, either option will not impact the set-up process.
FROM THIS POINT ON, YOUR NEED TO BE IN YOUR GARAGE NEXT TO YOUR THERMOSTAT
Step 7
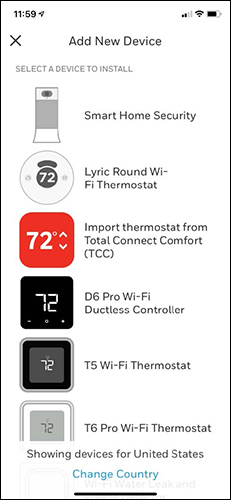
Select the device you will be connecting to. Select T6 Pro WIFI Thermostat.
Step 8
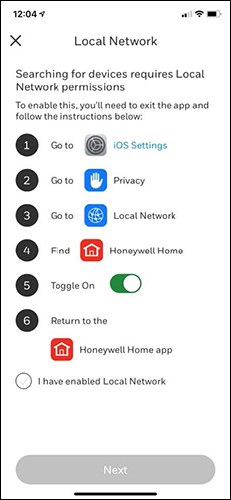
Local Network – It looks intimidating, but it is not. Take your time and follow the prompts below. Once completed, click on “I have enabled Local Network” You might have to do this twice. Don’t worry, the app is pretty forgiving.
STEP 9
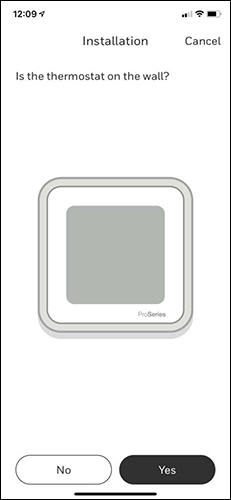
Is the thermostat on the wall? Click YES
STEp 10
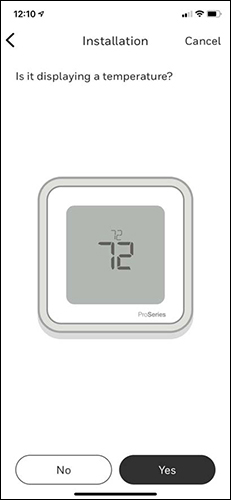
Is the thermostat showing the temperature? Yes if it is, No if it is not.
Step 11
Installation, this is where you will need the WiFi Name and Password.
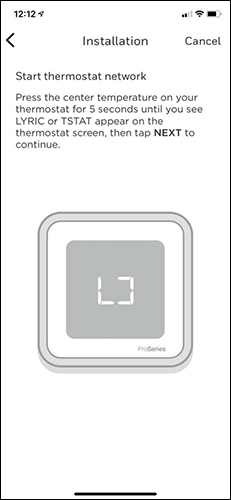
Now that your thermostat is connected to the app, follow the series of prompts to set up your thermostat.


